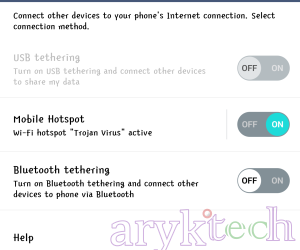
This tutorial covers the step by step guides involved in unlocking tethering services on ATT branded Android devices.
Usually, AT&T disables the tethering services which include WiFi Mobile Hotspot tethering, Bluetooth tethering and USB Tethering hence; you cannot use any of these tethering features so long as other carrier SIM card is inserted in the ATT branded Android device.
Besides the tethering features, certain apps that rely on the tethering service will not function at all (or as supposed) except you have ATT SIM card inserted in the Android device. Such app include Xender, Flashare and the likes of them.
Because many people regard this as a defect , we have included this solution in the PSR Suite - our special collections that teach you how to solving all phone software issues among others.
To Enable Tethering Features In ATT Branded Android Devices
1. Enable Developer Options and USB Debugging in your Android device. Don't know? See here: How to Enable USB Debugging In Android Devices
2. Setup ABD and Fastboot Tools on your PC. You can use Stripped ADB and Fastboot Tools here
3. Connect your device to the PC and wait (for a while) while the PC detects and installs the device drivers. NOTE: You need to have installed the device ADB drivers on the PC prior to this.
4. Go to Stripped ABD and Fastboot Tools folder (Step 2 above) and open command prompt from there. Don't know how? Open the folder then press and hold the Shift key + Right-click. Now, select open command prompt here from the drop-down options.
5. From the Command Prompt window type;
[ adb shell settings put system tether_entitlement_check_state 0]
NOTE: Remember to press (hit) the enter key after the command.
6. Now, disconnect your device and go to settings on the device to activate either the WiFi Mon Hotspot Tethering, Bluetooth Tethering or USB Tethering and enjoy.


0 Comments